
How to Plan a 3×3m Exhibition Booth
A 3×3m exhibition booth provides 9 square meters of space, making efficient planning essential. Before choosing display products, exhibitors should first confirm the booth height, number of open sides, booth type and budget. These details directly affect the structure, layout and display solution.
Confirm the Booth Requirements First
Before designing a 3×3m booth, confirm:
- Booth size: 3×3m
- Maximum permitted height
- Number of open sides
- Standard booth or raw space
- Available budget
These basic details help determine which display structure is practical for the project.
Choose a Display Solution Based on Your Budget
Different budgets can lead to different booth solutions. For a 3×3m booth, the display can generally be planned around four options:
- Simple solution: Printed hanging graphics or KT board displays for basic branding.
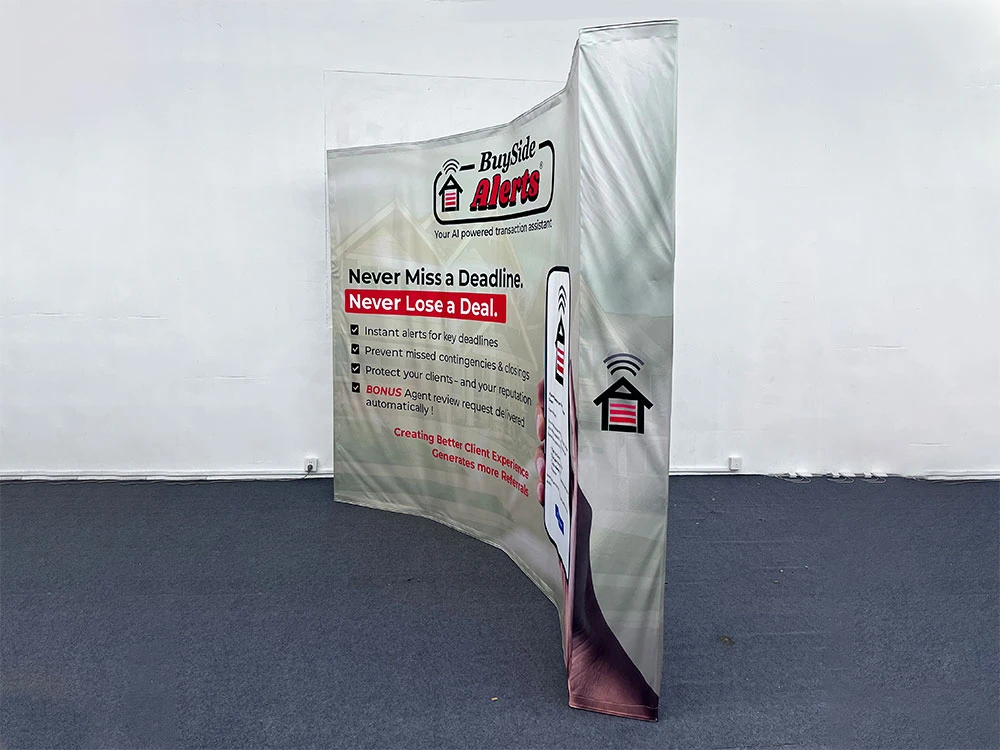
- Economical solution: A tension fabric display or pop-up display for a portable and reusable setup.
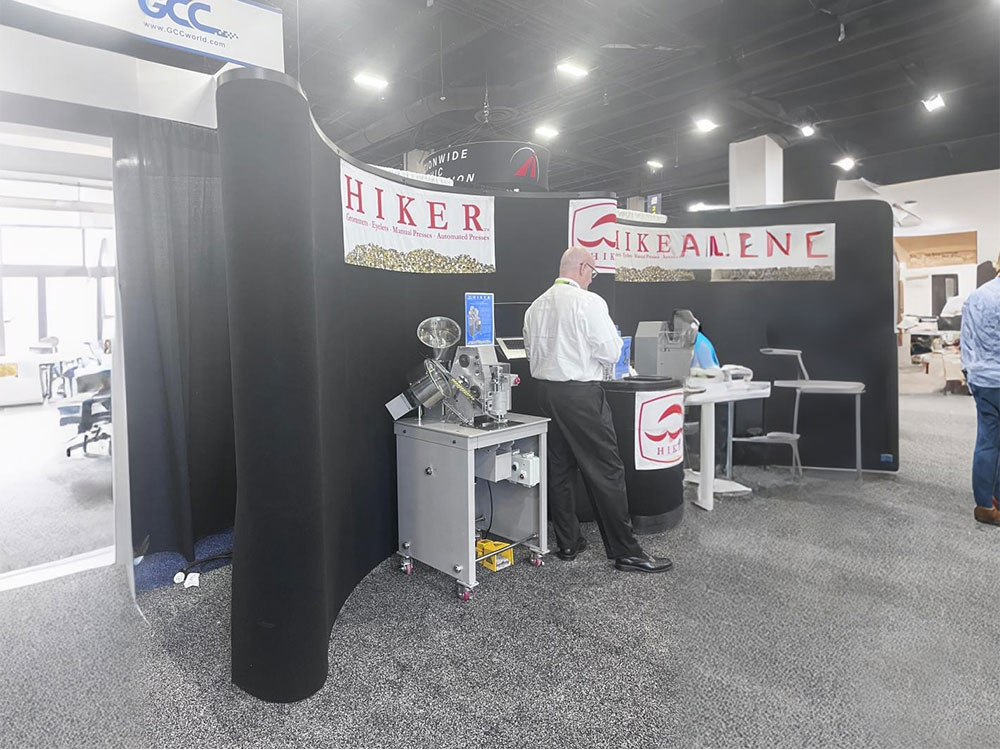
- Booth solution: Use modular tension fabric structures to create a more complete exhibition booth with walls, branding and functional areas.
- Backlit solution: Use SEG LED light boxes to create a more eye-catching illuminated booth.
The right choice depends on the client's budget, visual requirements and intended use.

Pay Attention to Booth Height
For portable exhibition display structures, keeping the height within 3m is recommended for better stability and easier graphic production.
A tension fabric cube can reach approximately 3.5m in height, making it an option when a taller structure is required.
Always confirm the venue's height restrictions before production.
Plan the Graphics According to the Structure
The graphic size should be based on the actual finished display dimensions rather than simply the booth size.
For hanging fabric graphics, the finished graphic should generally be reduced by approximately 10cm in both width and height to allow for installation.
For tension fabric displays, remember to account for the space occupied by the feet. The actual visible height and width may be smaller than the overall booth dimensions.
For L-shaped or U-shaped light boxes, the overlapping sections also need to be deducted when calculating the graphic size.
Keep the 3*3 Layout Open
With only 9 square meters available, avoid filling the booth with too many structures.
A practical layout can include:
- Back: Main fabric display or SEG light box
- Side: Compact exhibition counter
- Center: Open visitor area
- Front: Clear entrance
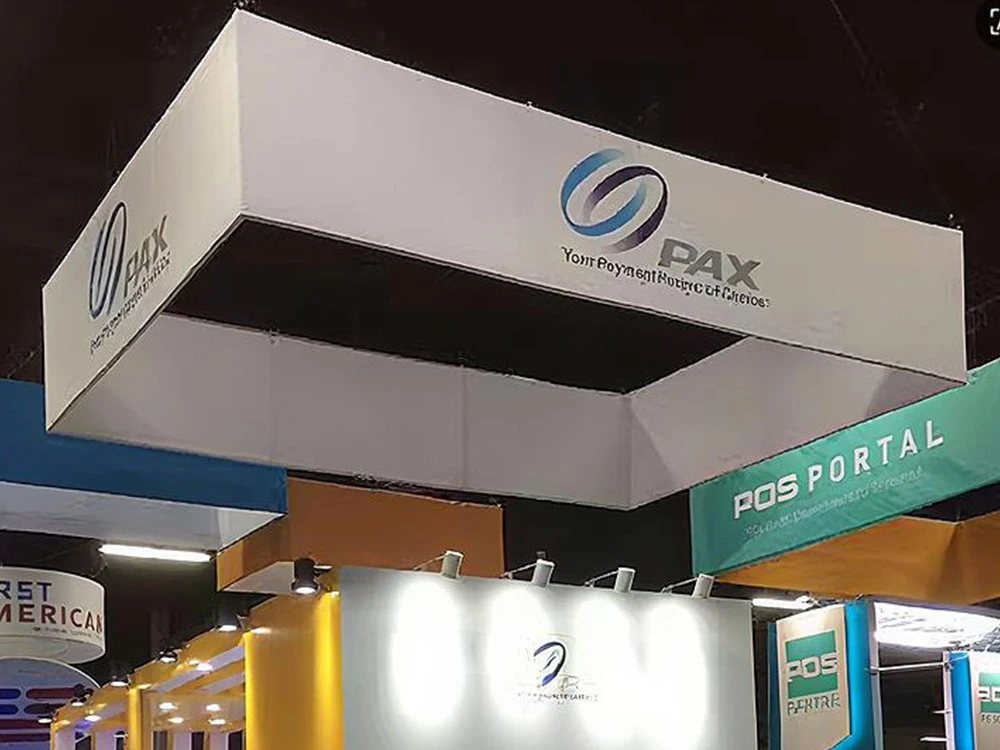
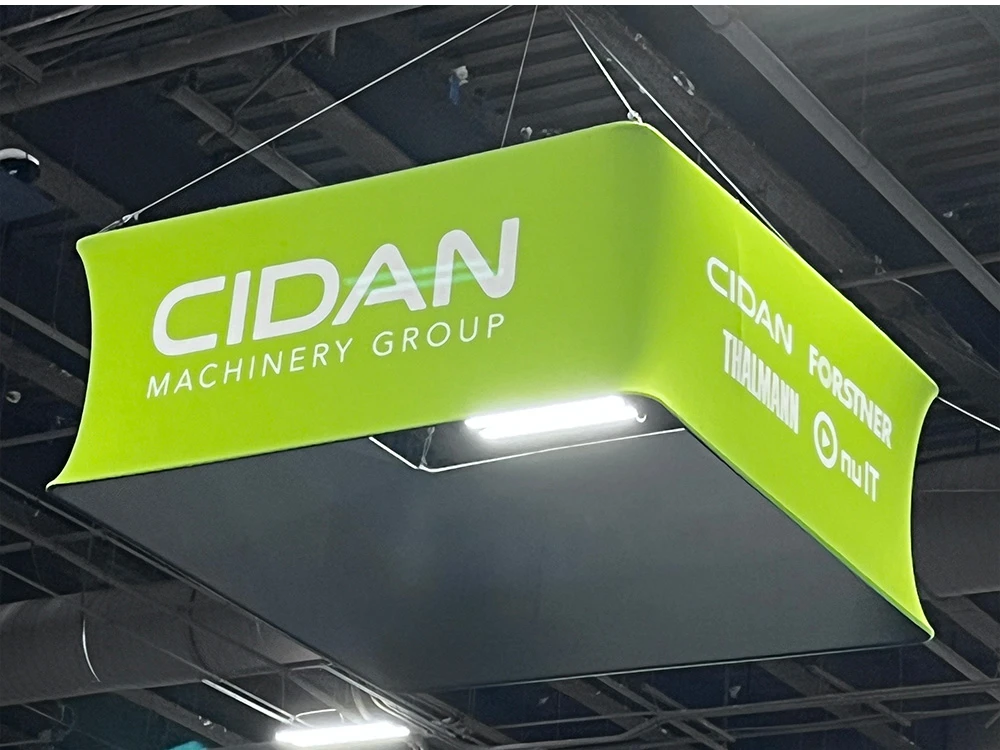
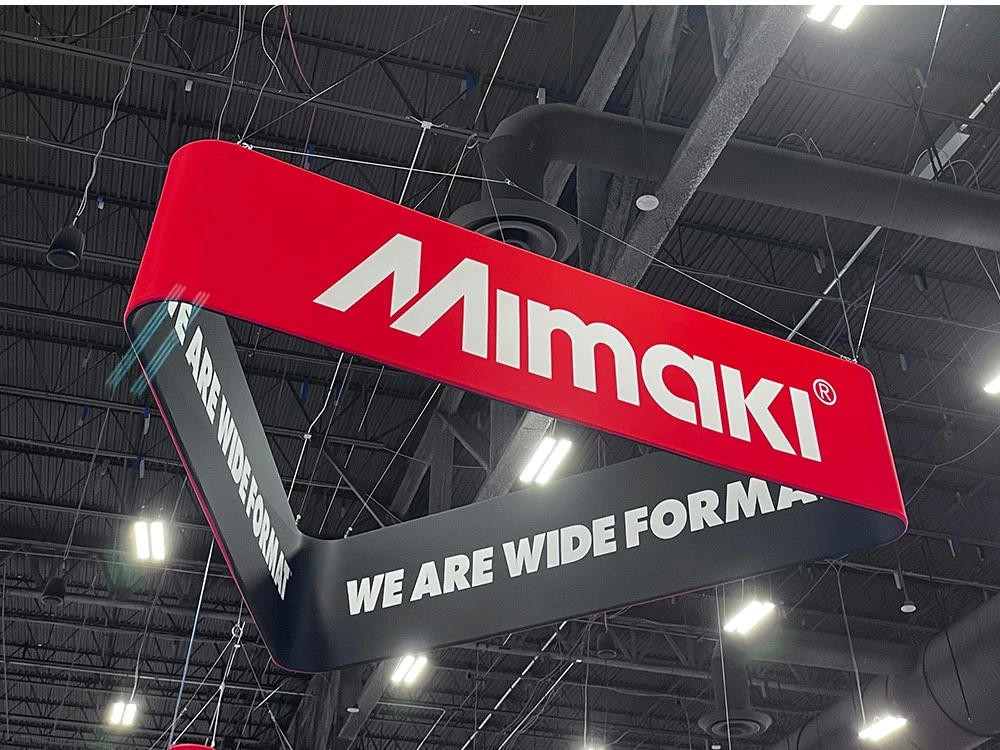
If the venue allows hanging structures, overhead displays(such as Hanging sign) can also be considered to improve visibility without using additional floor space.
Confirm Production Details Before Ordering
Before production starts, confirm the following:
- Final delivery date
- Plug type and voltage for illuminated products
- Packaging dimensions and weight requirements
- Final booth rendering
- Final graphic artwork
The confirmed booth rendering and artwork should be clearly communicated to the production team before manufacturing.
3*3m Exhibition Booth Checklist
Before placing an order, make sure you have confirmed:
- Booth size and maximum height
- Number of open sides
- Standard booth or raw space
- Project budget
- Display solution
- Finished graphic dimensions
- Plug and voltage requirements
- Packaging requirements
- Final rendering and artwork

Build a Practical 3×3m Exhibition Booth
A successful 3×3m booth is not about fitting as many products as possible into 9 square meters. The goal is to match the booth requirements, budget, structure and graphics before production begins.
SOKI provides tension fabric displays, SEG light boxes, exhibition counters and modular booth solutions for different exhibition requirements.
Contact SOKI to discuss your 3×3m exhibition booth project.